
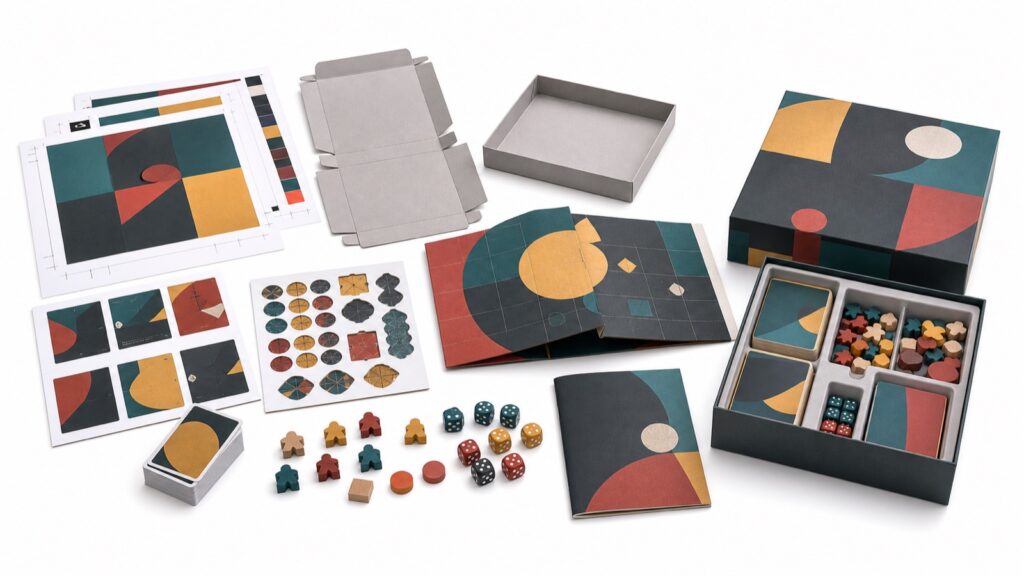
Follow the board game manufacturing process from file review and sampling through production, assembly, quality control and final packing for all custom games.
A custom game may combine cards, boards, books, punchboards, dice, wooden pieces, miniatures and a fitted box. Each item has its own production requirements, but all of them must arrive at assembly in the correct quantity and condition. A clear workflow helps publishers control decisions, reduce late changes and prepare a more reliable launch schedule.
1. Prepare the project brief, BOM and artwork
Production begins with a project brief and bill of materials (BOM). List every component, quantity per game, finished size, material, printing method and finish. Add the target order quantity, destination country, packing requirements and preferred delivery date. The BOM should agree with the rulebook and box contents list.
Supply artwork using the manufacturer’s confirmed templates or dielines. Printed files normally need bleed, safe margins, suitable image resolution and clearly identified color requirements. Books require final page counts and binding details, while custom plastic or metal parts may need dimensioned drawings or 3D files. Consistent filenames and version numbers prevent an outdated file from entering production.
2. Review manufacturability, materials and quotation
The manufacturer reviews whether the specifications can be produced consistently. This includes checking card and board sizes, punchboard cutting lines, fine printed details, box clearance, insert depth and the tolerances of connecting components. Alternative materials or constructions may be suggested when a design is fragile, unusually expensive or difficult to assemble.
A useful quotation identifies what is included, such as tooling, printing, components, assembly, packing and export cartons. Price depends on quantity, dimensions, materials, finishes, tooling and labor. Compare like-for-like specifications rather than only the final unit price. Niceam Product’s Products page provides an overview of the printed, book, packaging and accessory categories that can be coordinated within one project.
3. Create prototypes and approve production samples
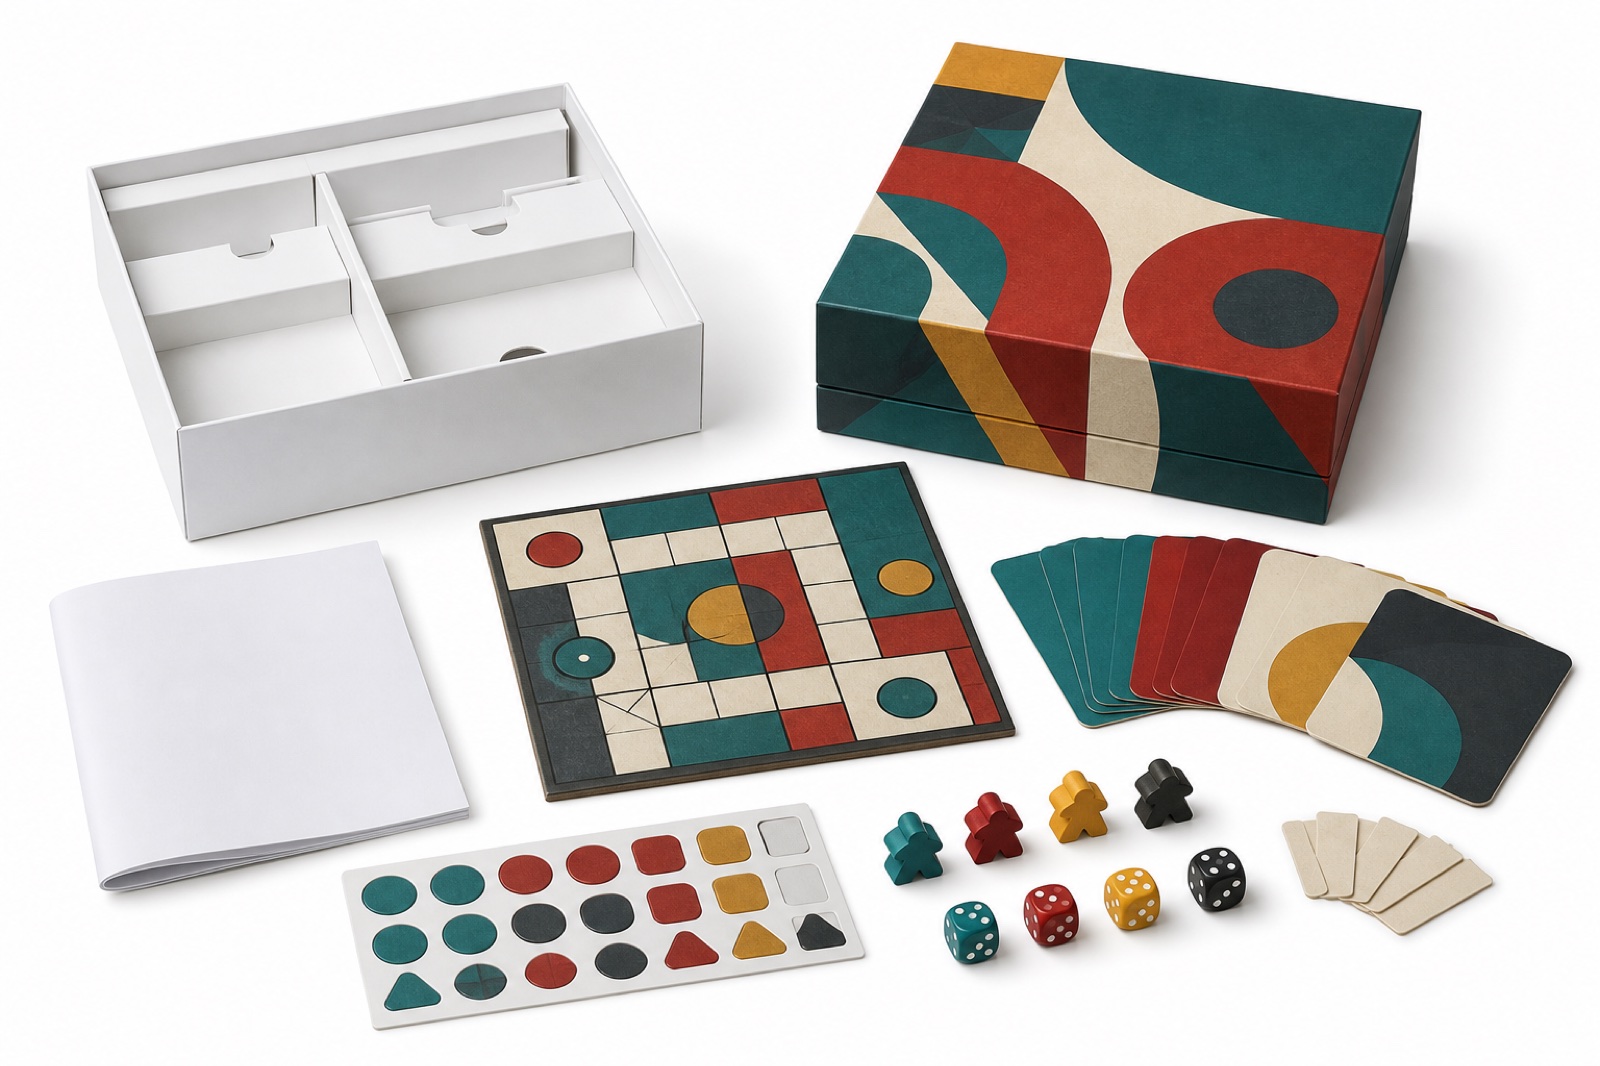
A white sample can confirm size, construction, folding and component fit before printed artwork is involved. Digital proofs help check content, page order and placement. A printed prototype or production sample provides better evidence of color, materials, finishing, opening action and the complete unboxing experience.
Review samples against a written checklist. Confirm dimensions, quantities, artwork versions, color references, surface finishes, component fit and packing order. Mark every requested change clearly and keep one approved reference. Mass production should begin only after the relevant files and samples have been approved.
4. Schedule printing, components and tooling
Once approvals are complete, the production schedule can be released. Cards, boards, books, punchboards and boxes may be printed on different equipment. Wooden, plastic, resin, acrylic and metal parts follow separate processes, while custom molds and cutting tools add preparation time. These workstreams are often coordinated in parallel but do not always finish together.
The critical path is usually the item with the longest tooling, finishing or approval requirement. Foil stamping, embossing, unusual bindings, molded miniatures and complex inserts should therefore be identified early. For a broader view of coordinated production, see our custom board game manufacturing capabilities.
5. Complete production and in-process checks
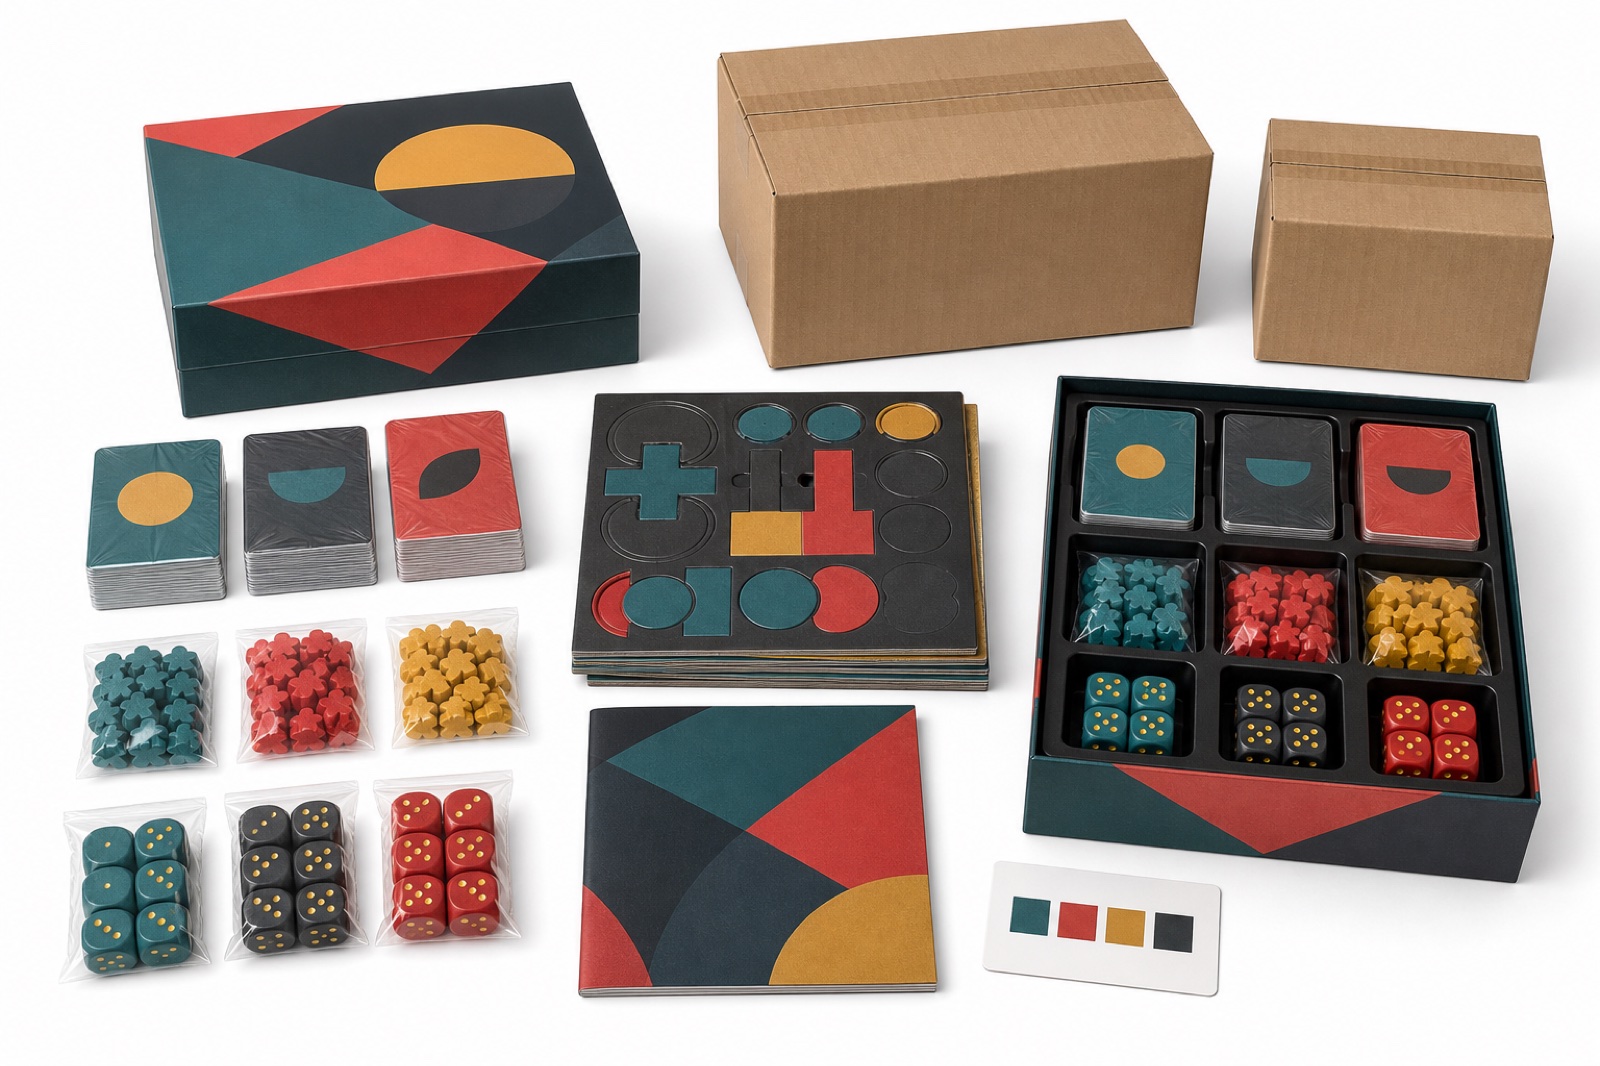
During production, checks should be made at the process where an issue can still be corrected. Printed sheets may be reviewed for color and registration; cut parts for dimensions and edge quality; components for markings, finish and fit. Approved samples, specifications and color references provide the comparison standard.
Natural materials and different production processes can show reasonable variation, so acceptance requirements should be practical and agreed in advance. If one component changes, its effect on the insert, box and assembly method must also be reviewed.
6. Assemble, count and pack each game
Before assembly, components are sorted and prepared according to the packing specification. Cards may be collated and shrink wrapped, punchboards counted, loose pieces bagged and books placed in a defined order. Assembly instructions should show the position and orientation of every item.
Checks during assembly help detect missing or duplicated components. A finished game should be opened and counted against the BOM, then tested for box closure, insert fit and movement during handling. Retail wrapping, labels, barcodes and export-carton marks are added according to the confirmed requirements.
7. Conduct final inspection and prepare delivery
Final inspection can cover appearance, dimensions, function, quantity, packing and carton condition. The appropriate inspection method depends on the project and agreed quality requirements. Carton size, weight, pallet use and destination affect freight planning, so delivery information should be confirmed before production finishes. Learn more about Niceam Product’s coordination and quality approach on our About page.
8. Avoid common causes of production delays
Frequent causes include incomplete BOMs, artwork changes after approval, unconfirmed colors, late translations, new tooling, complex finishes and packaging that was designed before final component dimensions were known. Publishers can reduce risk by freezing specifications in stages, responding to sample questions promptly and allowing contingency time for corrections and transport.
To request an initial review, provide the BOM, artwork status, target quantity, destination and required delivery date. Contact Niceam Product to discuss the manufacturing process for your custom board game or tabletop project.