
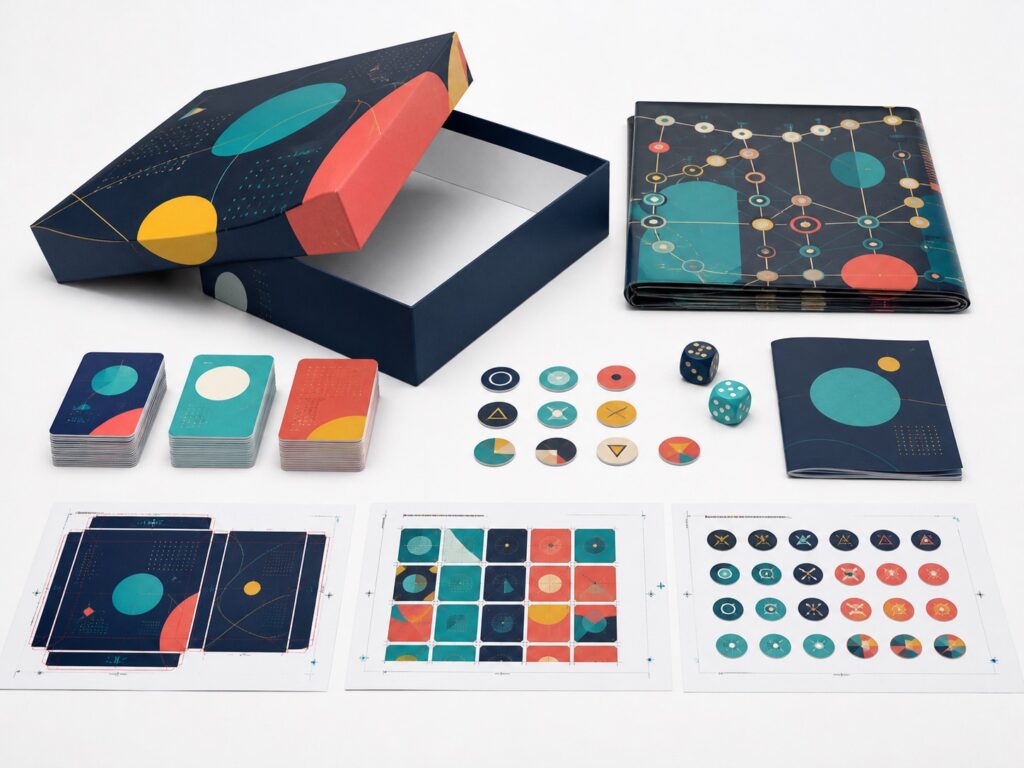
Learn which board game manufacturing files help a manufacturer prepare an accurate quotation, build reliable samples and move a custom game into production.
A board game may include cards, boards, punchboards, books, dice, wooden pieces, miniatures and fitted packaging. Artwork alone does not explain how every part should be made. A complete production package combines visual files with dimensions, materials, quantities and finishing instructions, reducing assumptions and revisions during sampling.
1. Start with a project brief and board game BOM
The bill of materials (BOM) is the master list of everything inside one finished game. For each item, state the component name, quantity per game, finished size, material, printing sides and required finish. Include packaging items such as bags, trays, labels and shrink wrapping, not only the pieces used during play.
The project brief should give the estimated order quantity, destination country and preferred delivery date. If several editions share components, identify what changes between them. A manufacturer can then review the complete scope. See Niceam Product’s custom board game manufacturing capabilities for products that can be coordinated in one project.
2. Supply print-ready artwork for cards and boards
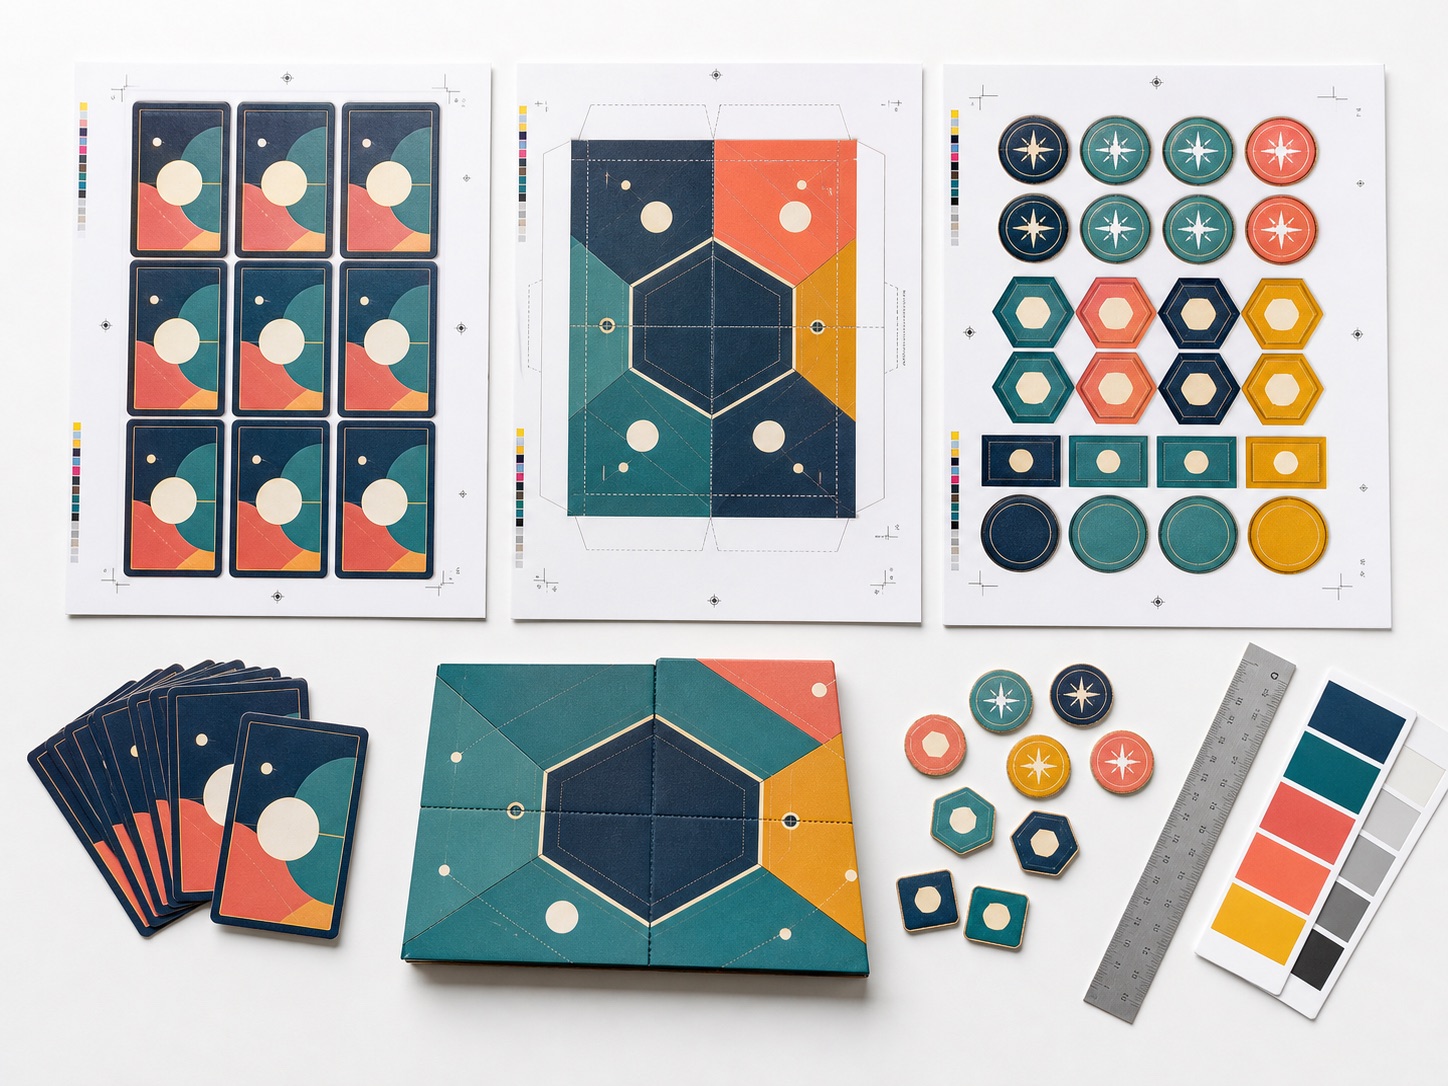
Card files should identify the finished size, bleed and safe area. Clearly separate common backs from individual fronts and confirm the number of cards in each deck. For boards, player mats and screens, show cut lines, folds and panel orientation. Artwork crossing a fold should be reviewed carefully so important details do not disappear into the crease.
Final artwork is normally supplied as a print-quality PDF or another agreed format. Images need suitable resolution, fonts should be embedded or outlined, and printed colors should use CMYK unless a spot color is required. Remove hidden layers and obsolete artwork, and use clear filenames with version numbers.
3. Prepare punchboard and token dielines
Punchboards need separate artwork and cutting information. Show every token, tile or standee within the approved board dimensions, allowing enough space between cut shapes. The front and back must align correctly, and the cutting layer should remain separate from printed graphics. Specify paperboard thickness, printed sides, coating and the number of punchboards in each game.
Very small tabs, sharp internal corners and narrow details may not punch cleanly. A manufacturability review can identify shapes that need adjustment before tooling is made. For more information about paperboard, wooden, dice and metal parts, read our board game components guide.
4. Define books, rulebooks and player aids
For rulebooks, campaign books, score pads and reference sheets, provide the finished size, page count, binding, paper and print requirements. Submit pages in reading order and confirm whether the cover is included in the count. Different bindings have different layout and spine requirements.
Translations should be complete before final pagination whenever possible. Different languages can change line length, page count and spine width. Check page numbers, cross-references, icons and the component list as part of the proofing process.
5. Describe custom components beyond printed artwork
Wooden pieces require dimensions, shape drawings, colors and quantities. Custom dice need the die type, size, base material, face layout and marking colors. Plastic, resin or metal components may require dimensioned drawings, vector files or 3D models such as STEP or STL files, depending on the manufacturing method.
Specify how components interact. A miniature base must fit its slot, a token must stand securely in its holder, and every item must fit the insert and box. Tolerances matter when two separately produced parts connect, so nominal dimensions alone may not be enough.
6. Provide box, insert and packaging files
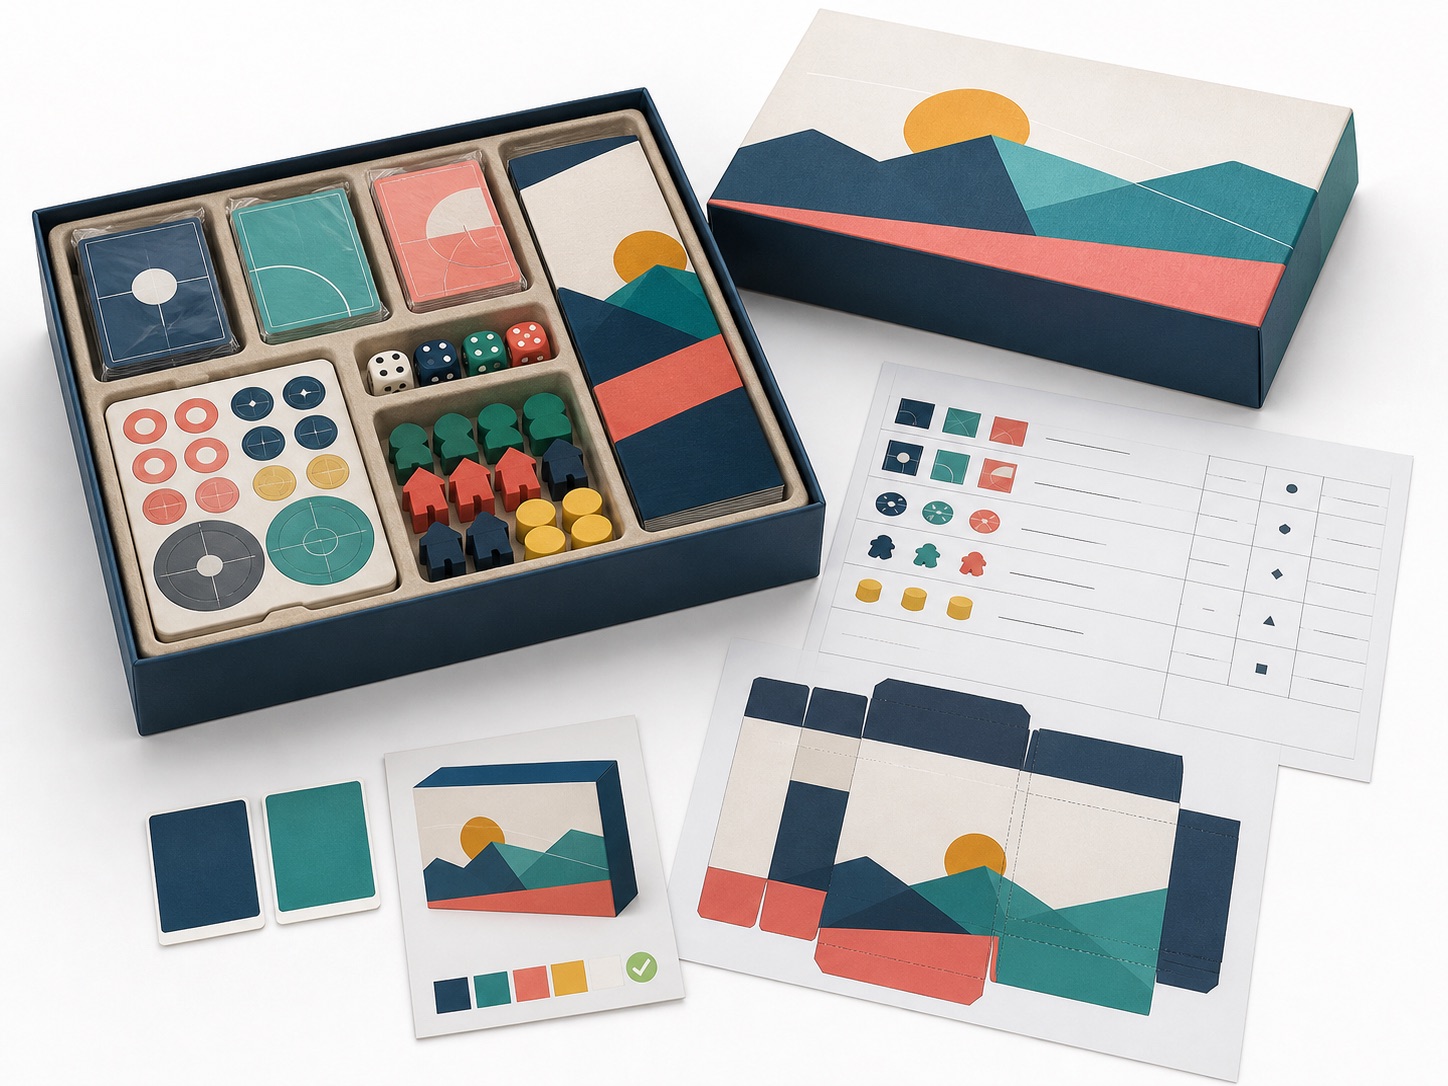
Packaging artwork should use the final approved dieline. Confirm box style, internal dimensions, board thickness, surface paper and finishes. Rigid, tuck and magnetic boxes follow different structures. Barcodes, safety marks and age guidance should remain within the safe area and be tested at printed size.
An insert cannot be finalized until the component dimensions and packing arrangement are known. Supply a placement plan showing how cards, books, tokens, dice and miniatures should sit inside. Also state whether cards will be sleeved or shrink wrapped. Our board game packaging guide compares common box, insert and retail-packing choices.
7. Identify materials, colors and special finishes
List linen textures, matte or gloss coatings, foil stamping, embossing, spot UV, edge coloring and other finishes in both the BOM and artwork notes. Provide Pantone references when color matching is important, but remember that the same color can appear different on paper, wood, plastic and metal. Physical samples or approved color references can clarify expectations.
8. Use a controlled review and approval process
Keep one current production folder and archive superseded versions. A revision log should state what changed and which file it replaced. Digital proofs, white samples and printed prototypes answer different questions, so approvals should record content, construction, color and component fit.
For an initial quotation, send the BOM, available artwork, dimensions, target quantity, destination and delivery requirements. Files do not need to be completely final for an early review, but unfinished items should be clearly marked. Contact Niceam Product to have your custom board game specifications reviewed before sampling and production.